I planned on blogging about something entirely different but my Easter table turned out so cute. I love Easter and all it entails. We started off with a lovely church service followed by a late lunch, Easter egg hunt and egg smash! Our guests loved the table scape and I think it added some joy to the day. I’m going to give you the details on how I created this table.
As always, I started with my table runner. I picked up a couple of these sugar sack runners at one of the An Affair of the Heart craft shows. They go with a ton of different holidays and seasons. I already had the flowers and their cookie jar vases out for spring. Next I headed to Hobby Lobby to get a few details to start getting the creative juices flowing. I found these adorable bunny plates and speckled eggs.
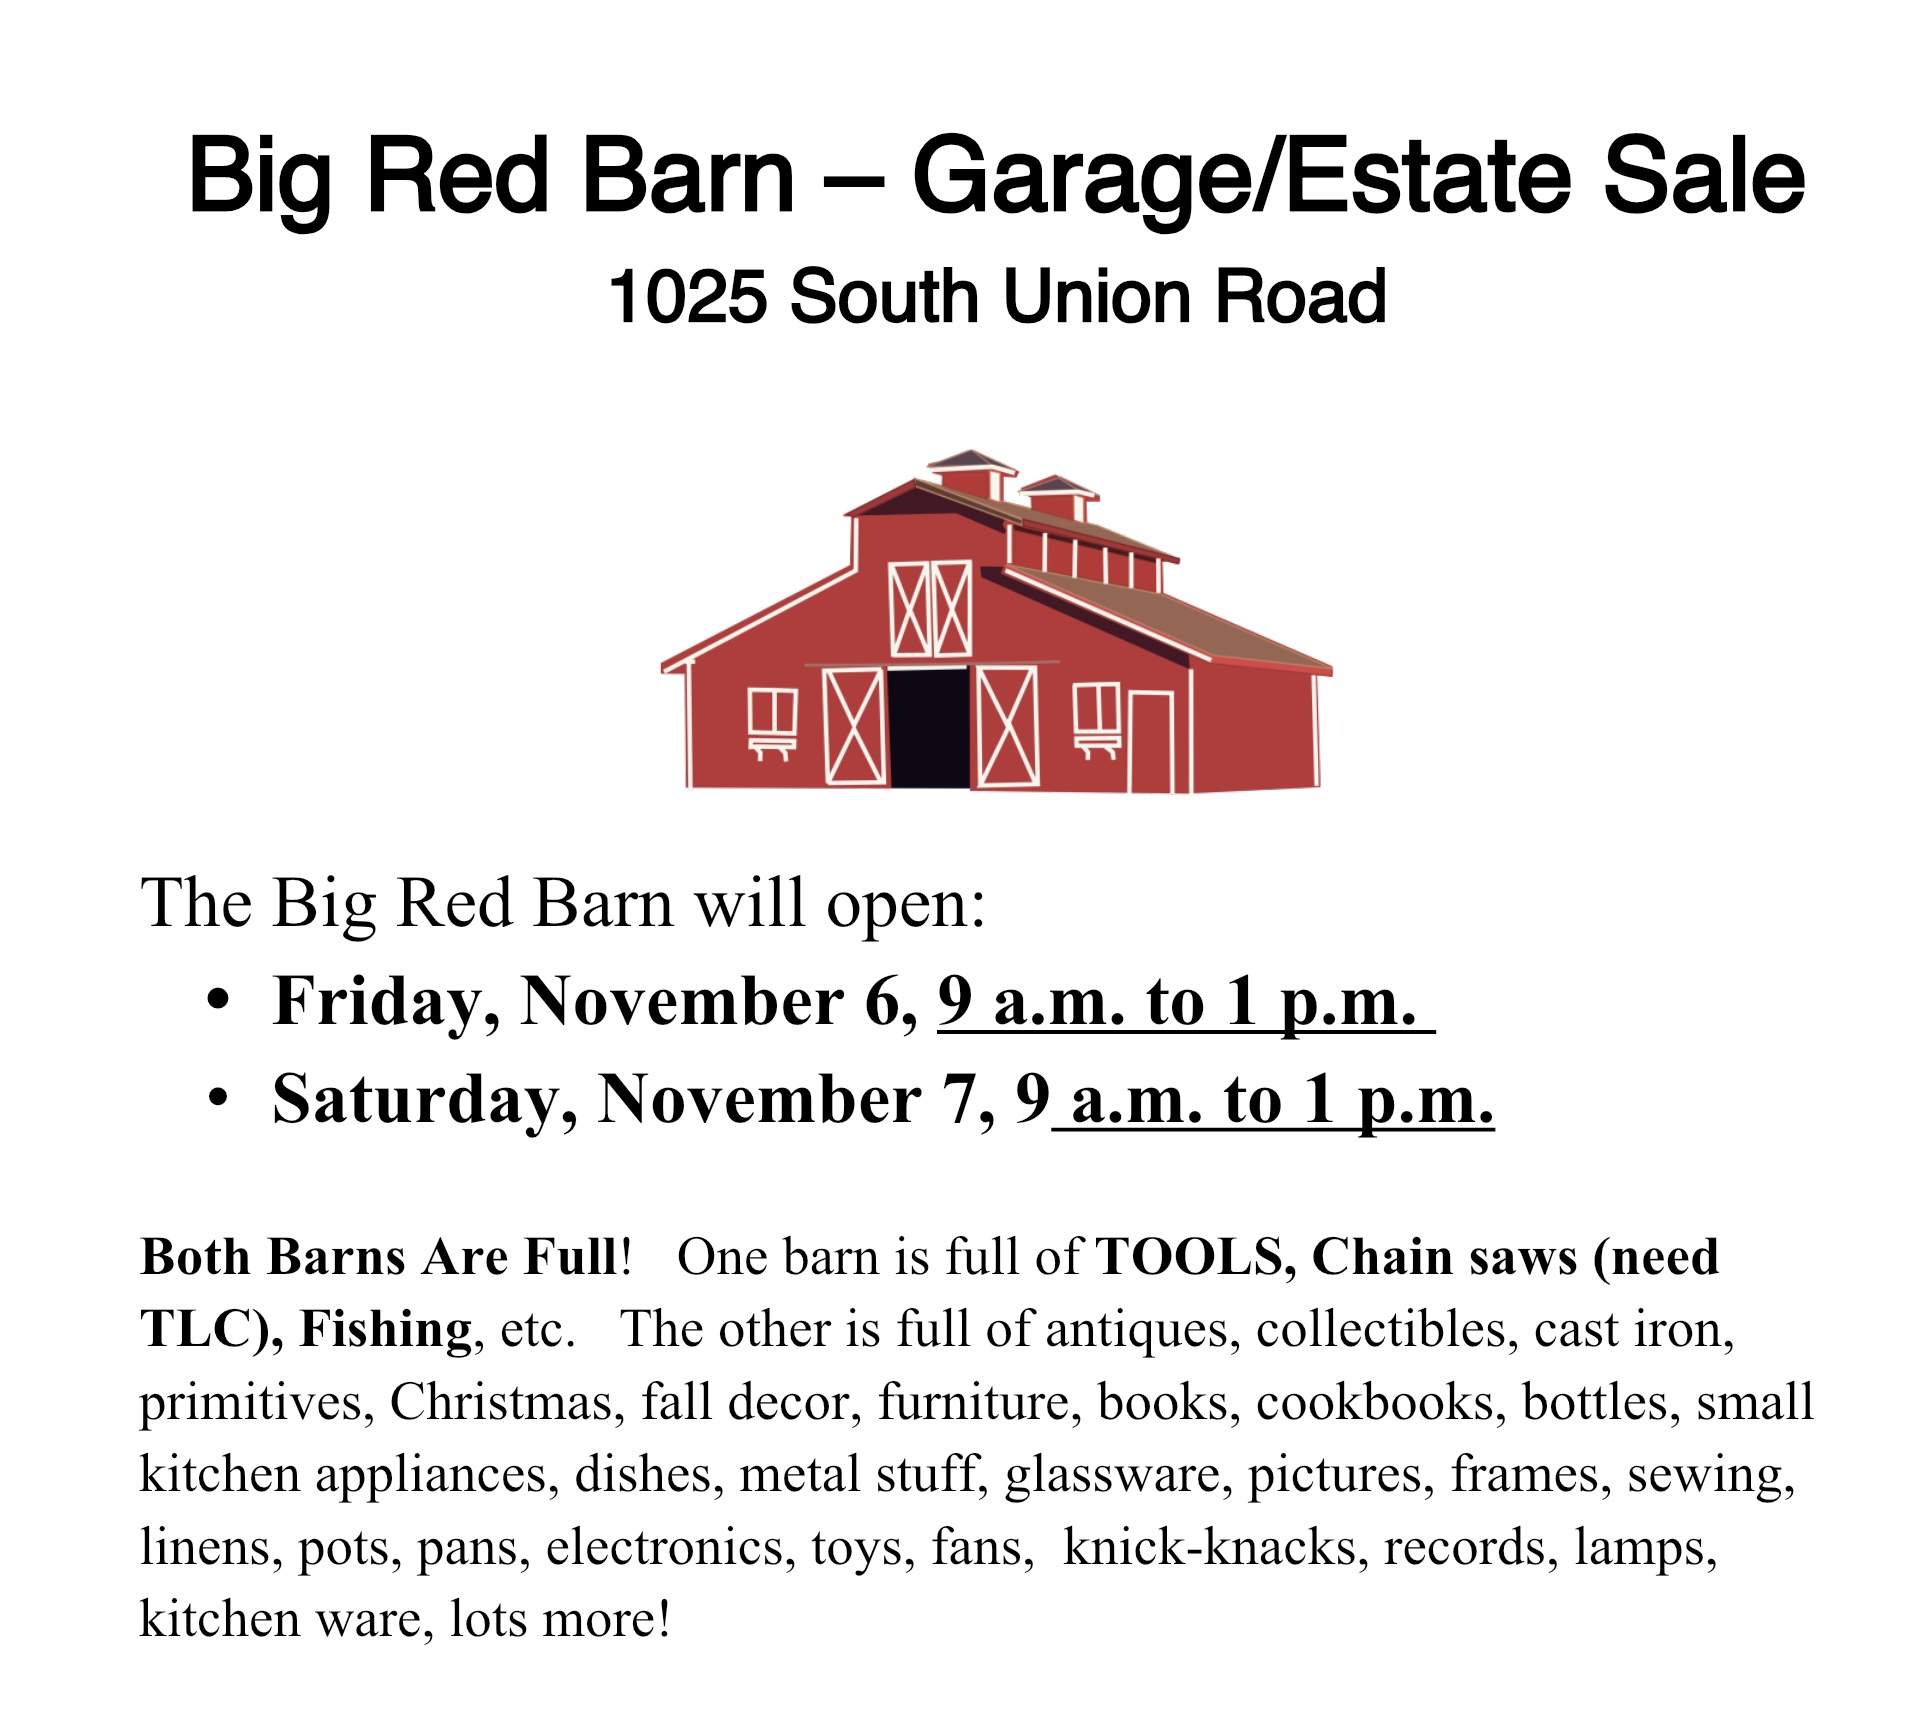
Now that I had my accent plates I needed some main entree plates. We spotted some in the Big Red Barn and had plenty for our lunch for nine. Once those were on the table I needed some napkins for lunch and dessert. I found some cute ones at Homegoods and TJ Max. I knew I was going to put my strawberry cake as the centerpiece so I built it out from there. This strawberry cake is super easy and topped with a from scratch buttercream frosting and fresh organic strawberries. I placed it on my Pioneer Woman cake stand and tried hard not to dig in right away!
Finally, I set the table! I hope each of you had a wonderful Easter! Until next time enjoy the beautiful spring weather!
I am a person who loves to cook and I like to try to recreate some of my favorite restaurant dishes. We used to have a great Italian place in town that had these delicious Italian Nachos. Lucky for me my husband was a kitchen manager at this restaurant and knew the recipes. Now this recipe is not exactly the recipe they used but we have tweaked it to our liking.
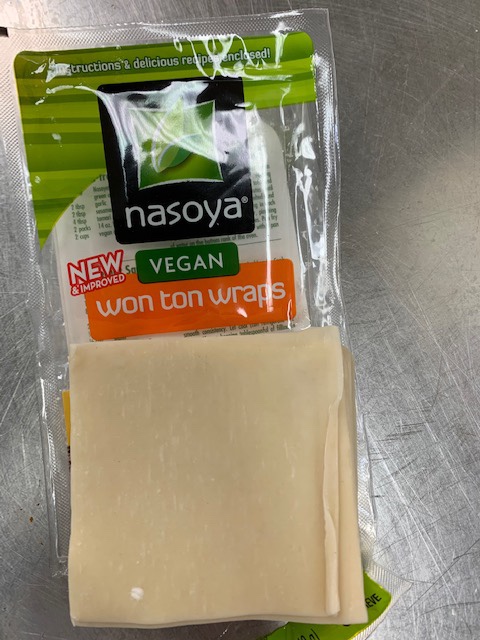
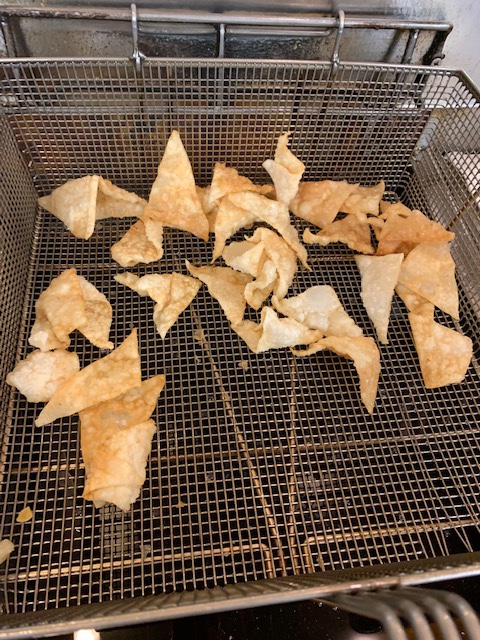
You start by frying the Wonton chips. I like to cut the wrappers diagonally to make them a little easier to eat. I am fortunate enough to work at a restaurant where I can fry the chips but it’s just as easy to do at home. You will want to get a small fryer or cast iron skillet filled with canola oil and heat it to 350 degrees. You only want them to get very light brown on the edges otherwise they will be burnt when you take them out. This usually takes less than a minute.
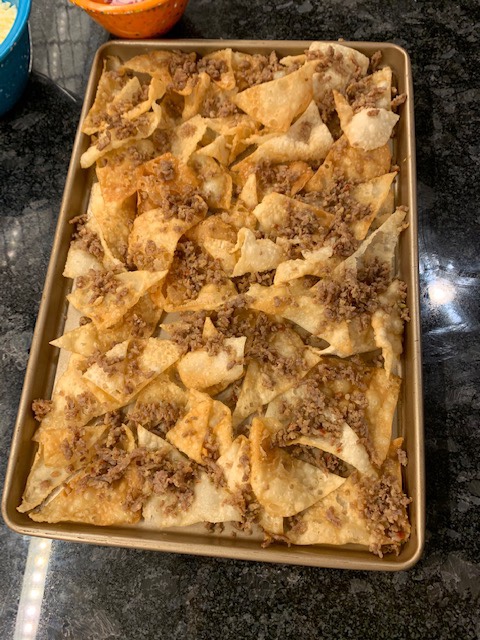
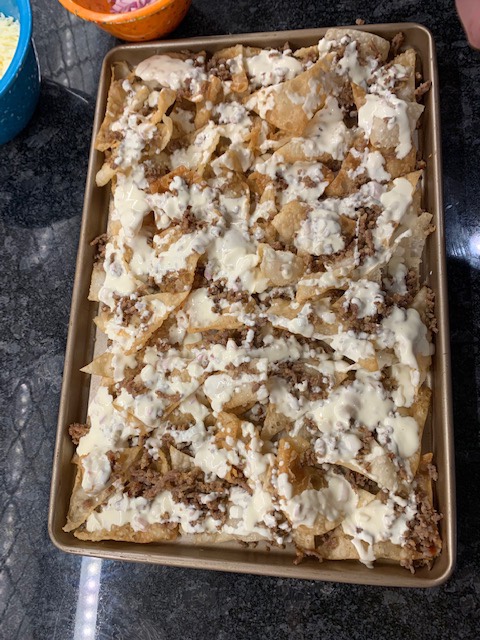
Next you will want to cook your Italian sausage and place on a paper towel to drain any excess grease. Then you will make your Asiago cream sauce. Place butter and onion in a small sauce pan and cook onions down. Then add your garlic. Next add your cream and heat through. Finally, add the Asiago cheese and stir in until melted and thickened. Remove from heat and set aside.
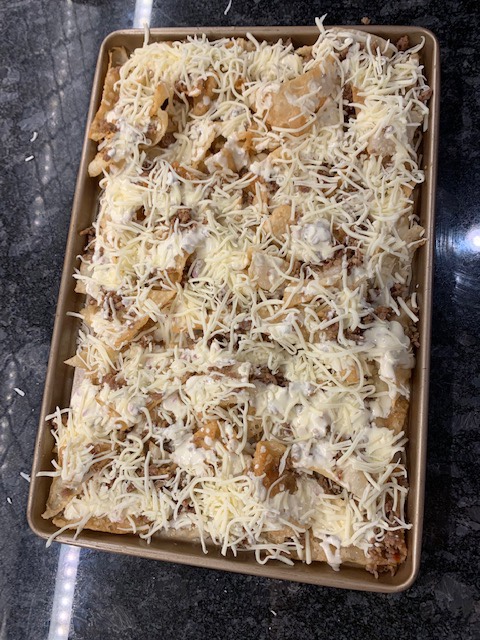
Place your chips on a cookie sheet. Pile on your sausage, sauce, mozzarella cheese and red onion. Place in a 350 degree oven for 5-8 minutes or until the mozzarella has melted. Plate the nachos and enjoy!
Italian Nachos
Ingredients:
2 cloves minced garlic
4 Tbs butter
3 Tbs diced onion
2 cups heavy cream
1 cup finely shredded Asiago cheese
1/3 lb Italian sausage
1/4 cup diced red onion
Fried Won Ton chips
1 cup shredded mozzarella cheese
Instructions:
Preheat oven to 350 degrees
Cook Italian sausage, place on paper towel
Place butter and onions in a small sauce pan and simmer until onions are softened. Add in garlic.
Slowly add cream. Reduce heat to keep from scorching. Continuously stir then add Asiago cheese. Remove from heat
Place chips on a cookie sheet and top with sausage, rest of red onion, cream sauce and then mozzarella.
Place in oven for 5-8 minutes.
These nachos are great for tons of occasions. I hope you enjoy them!
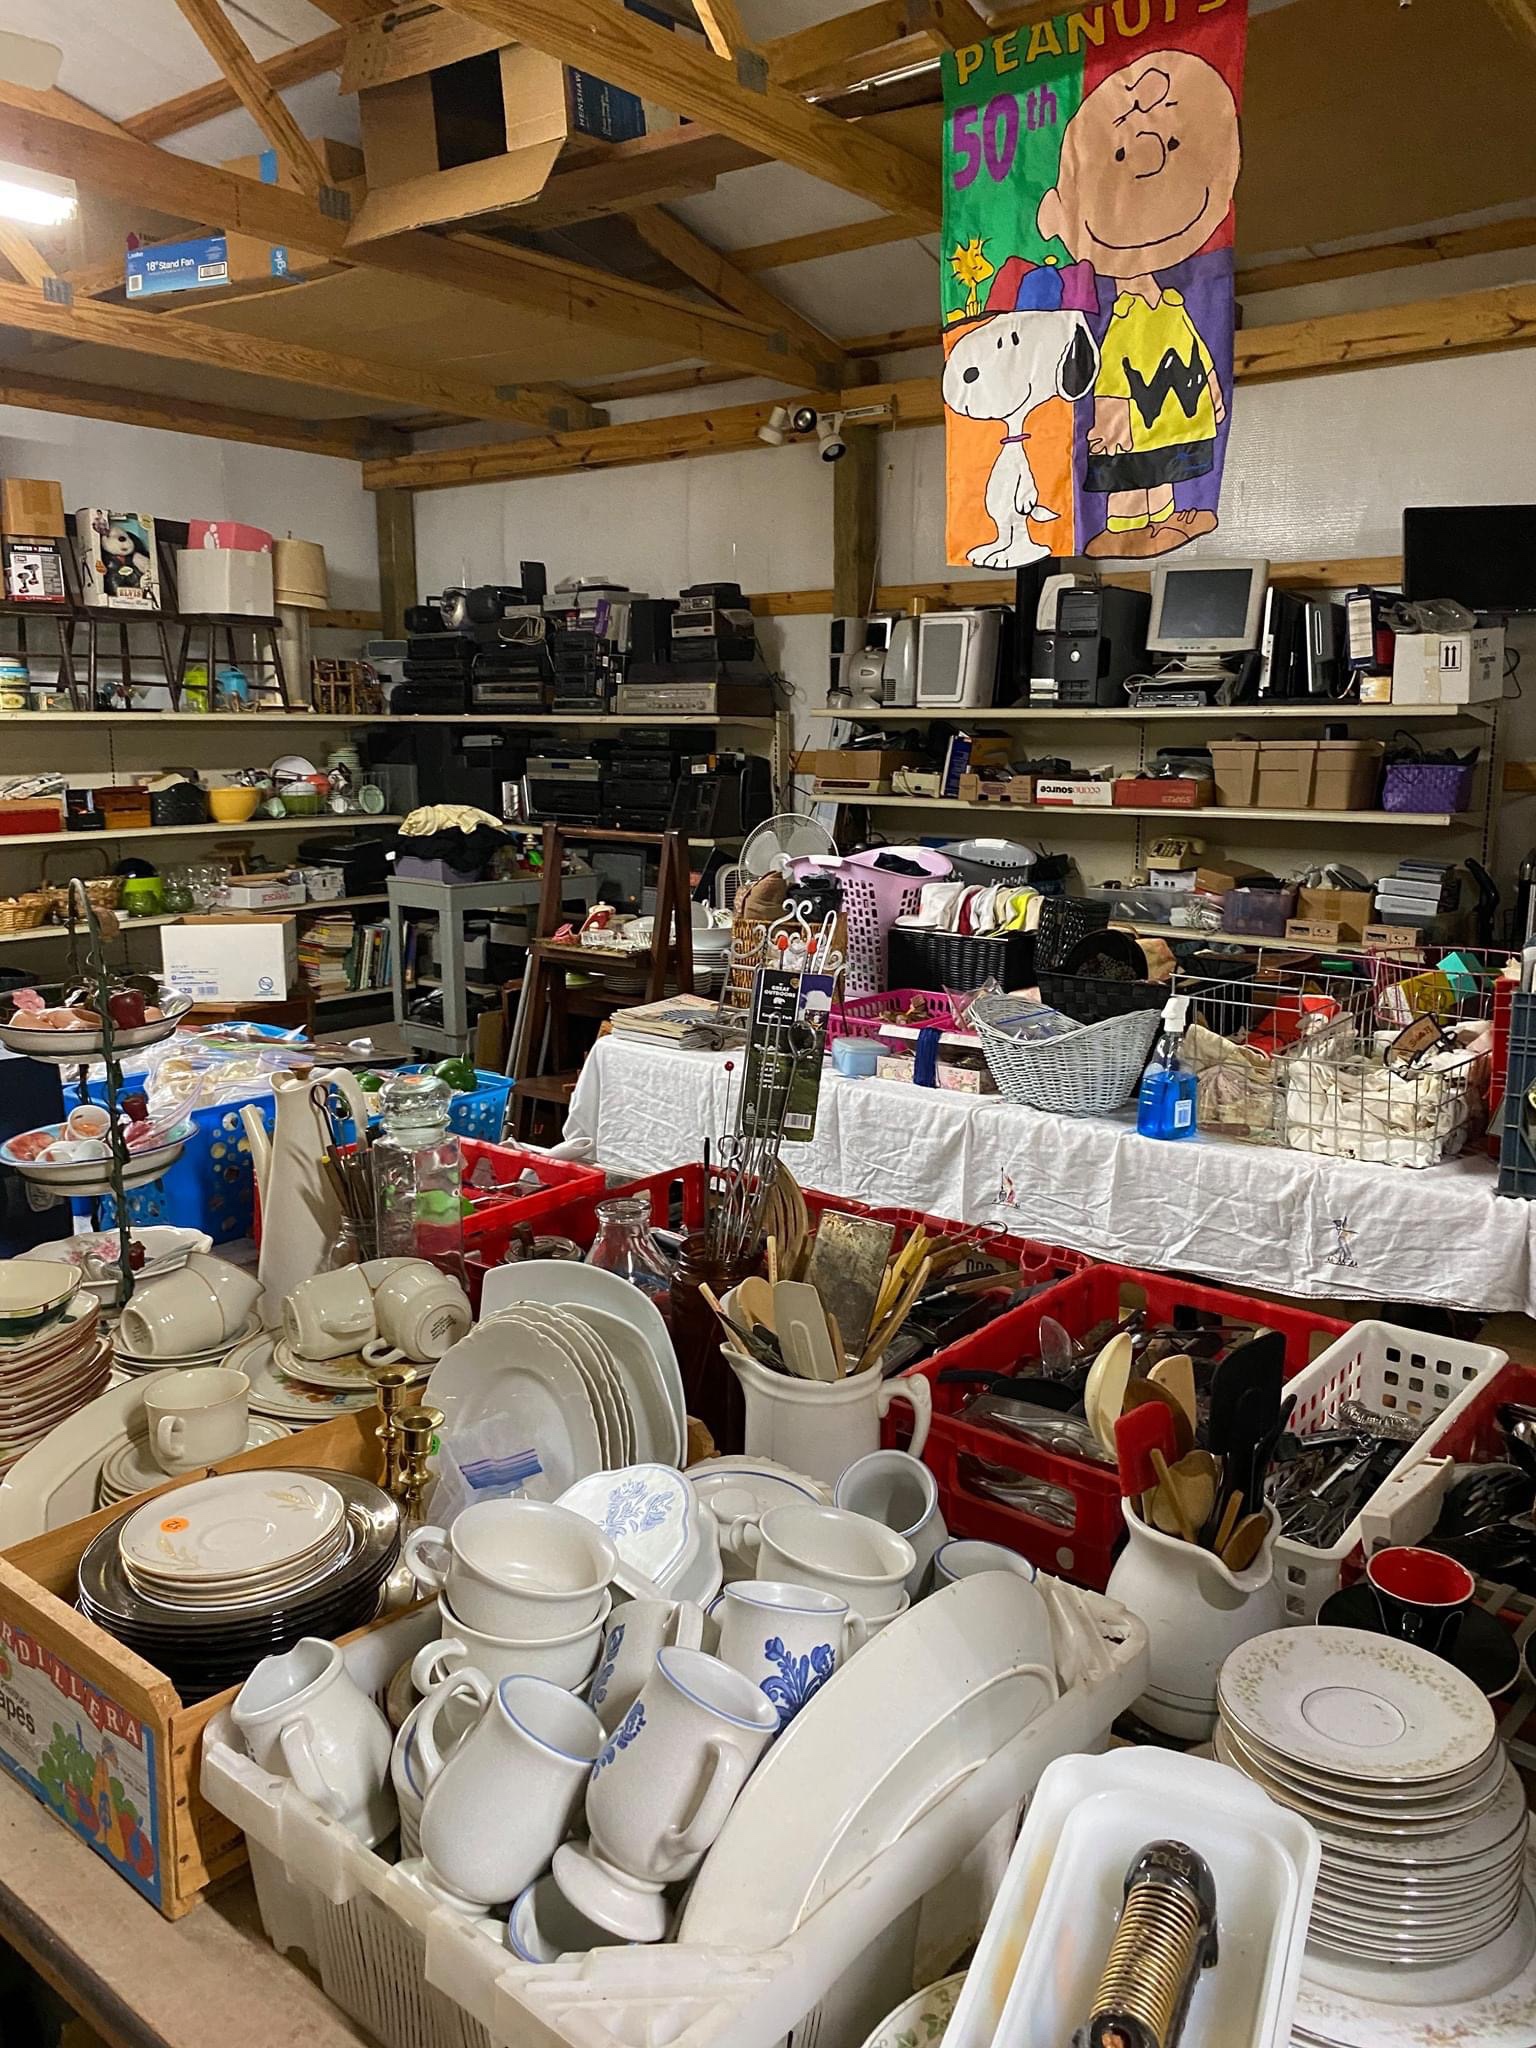
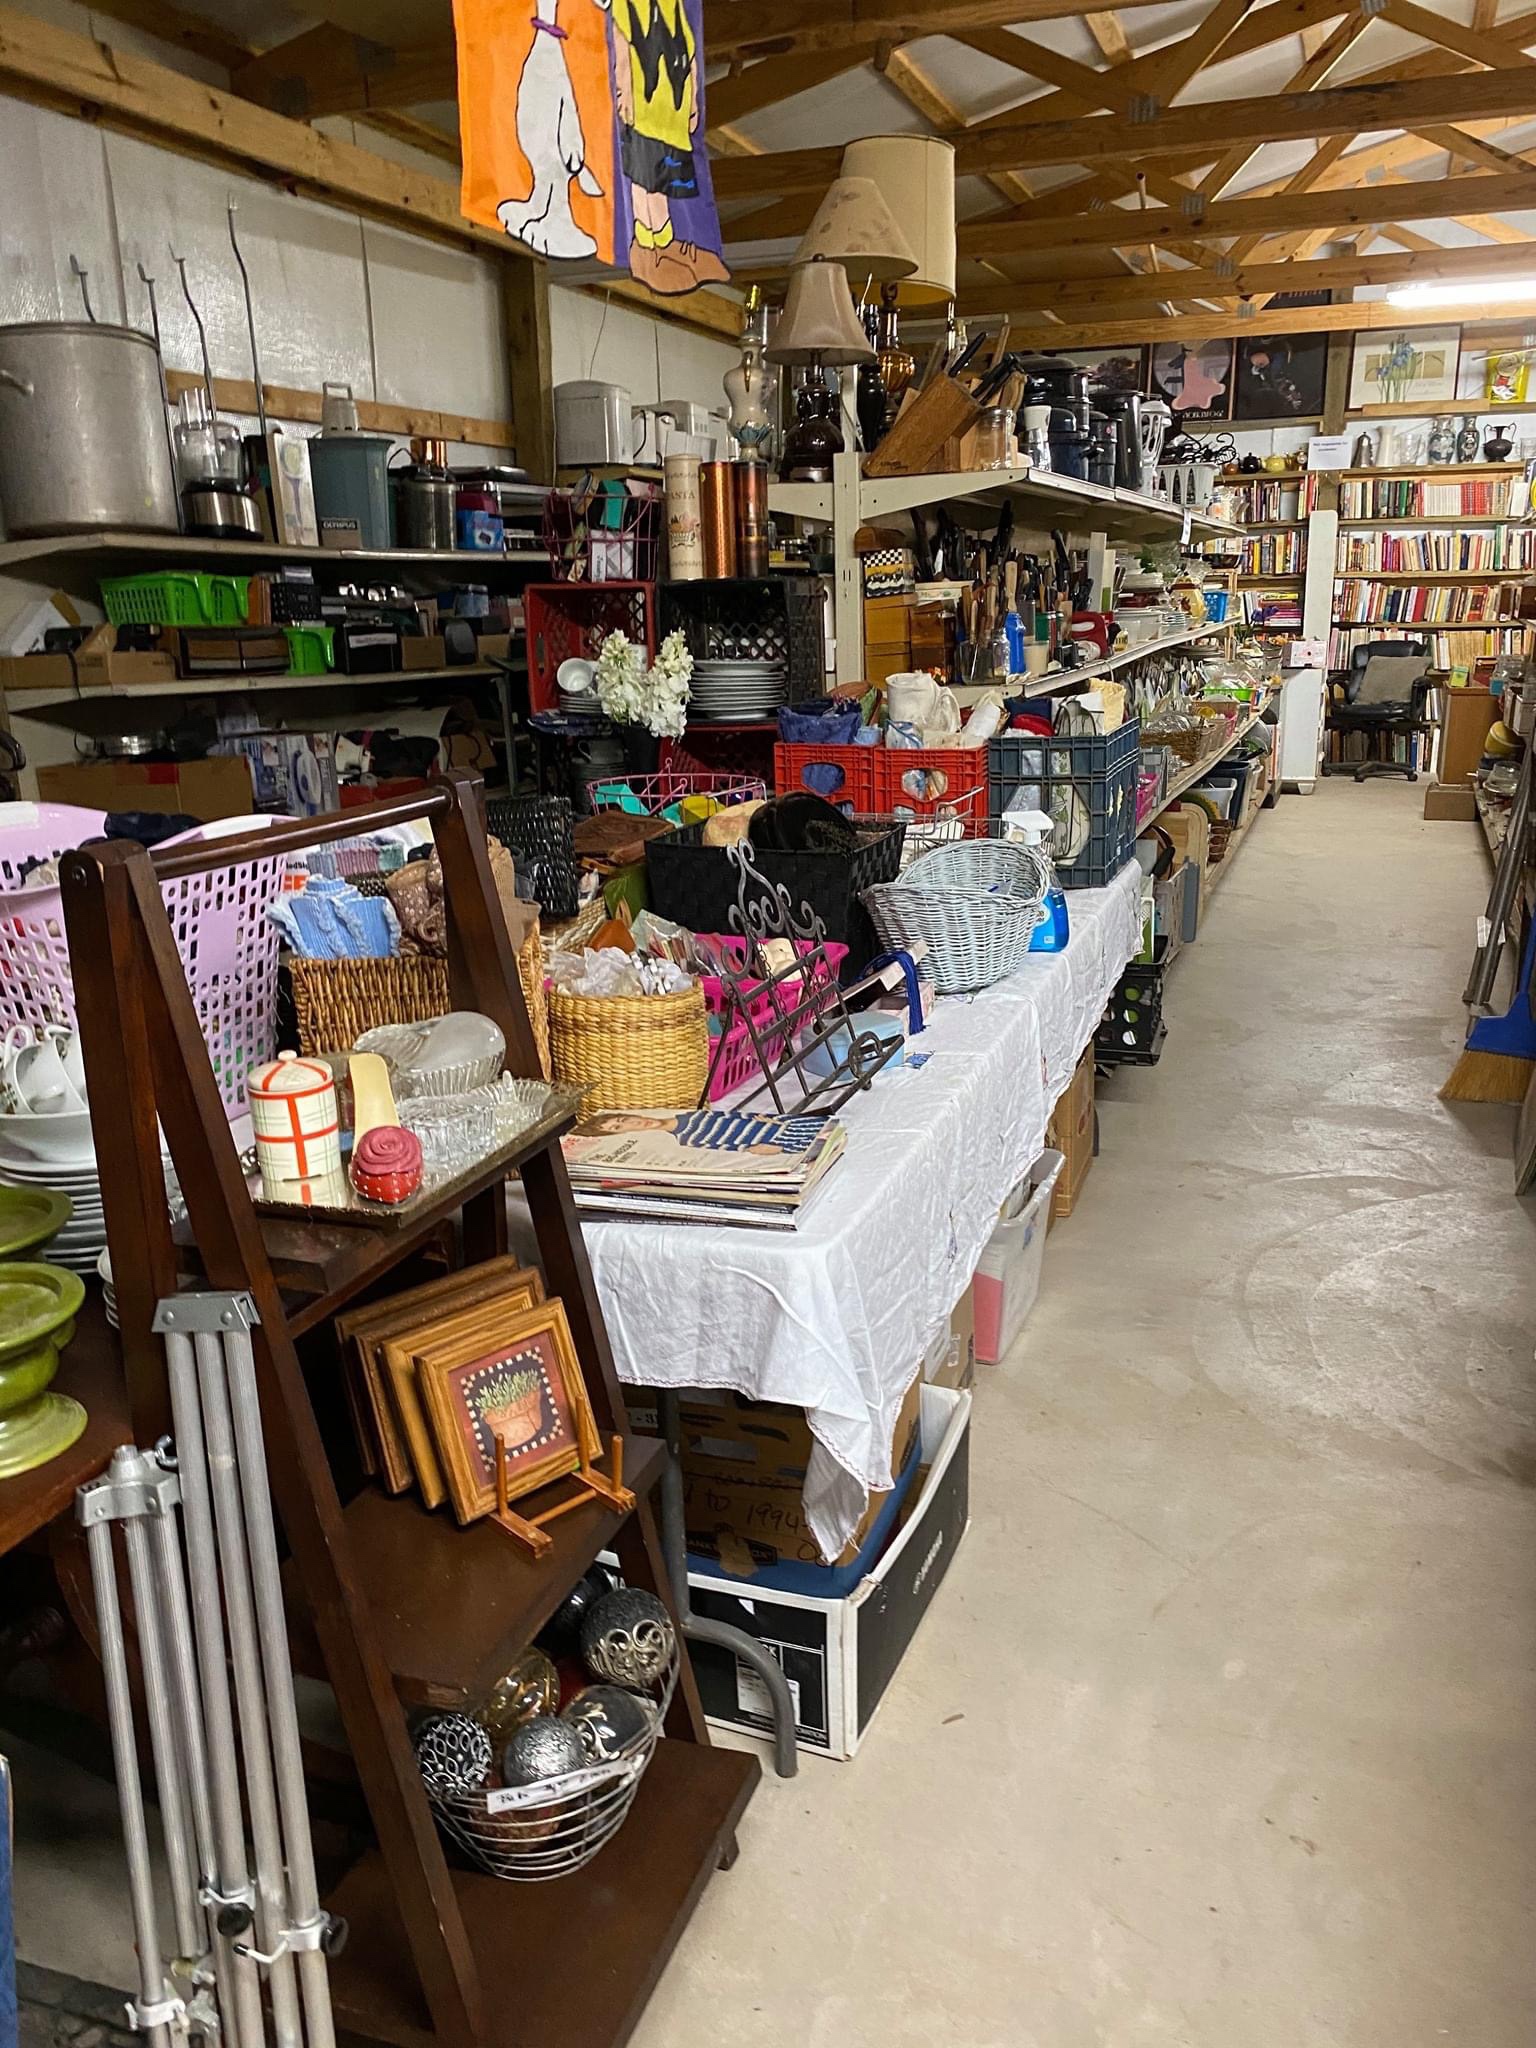
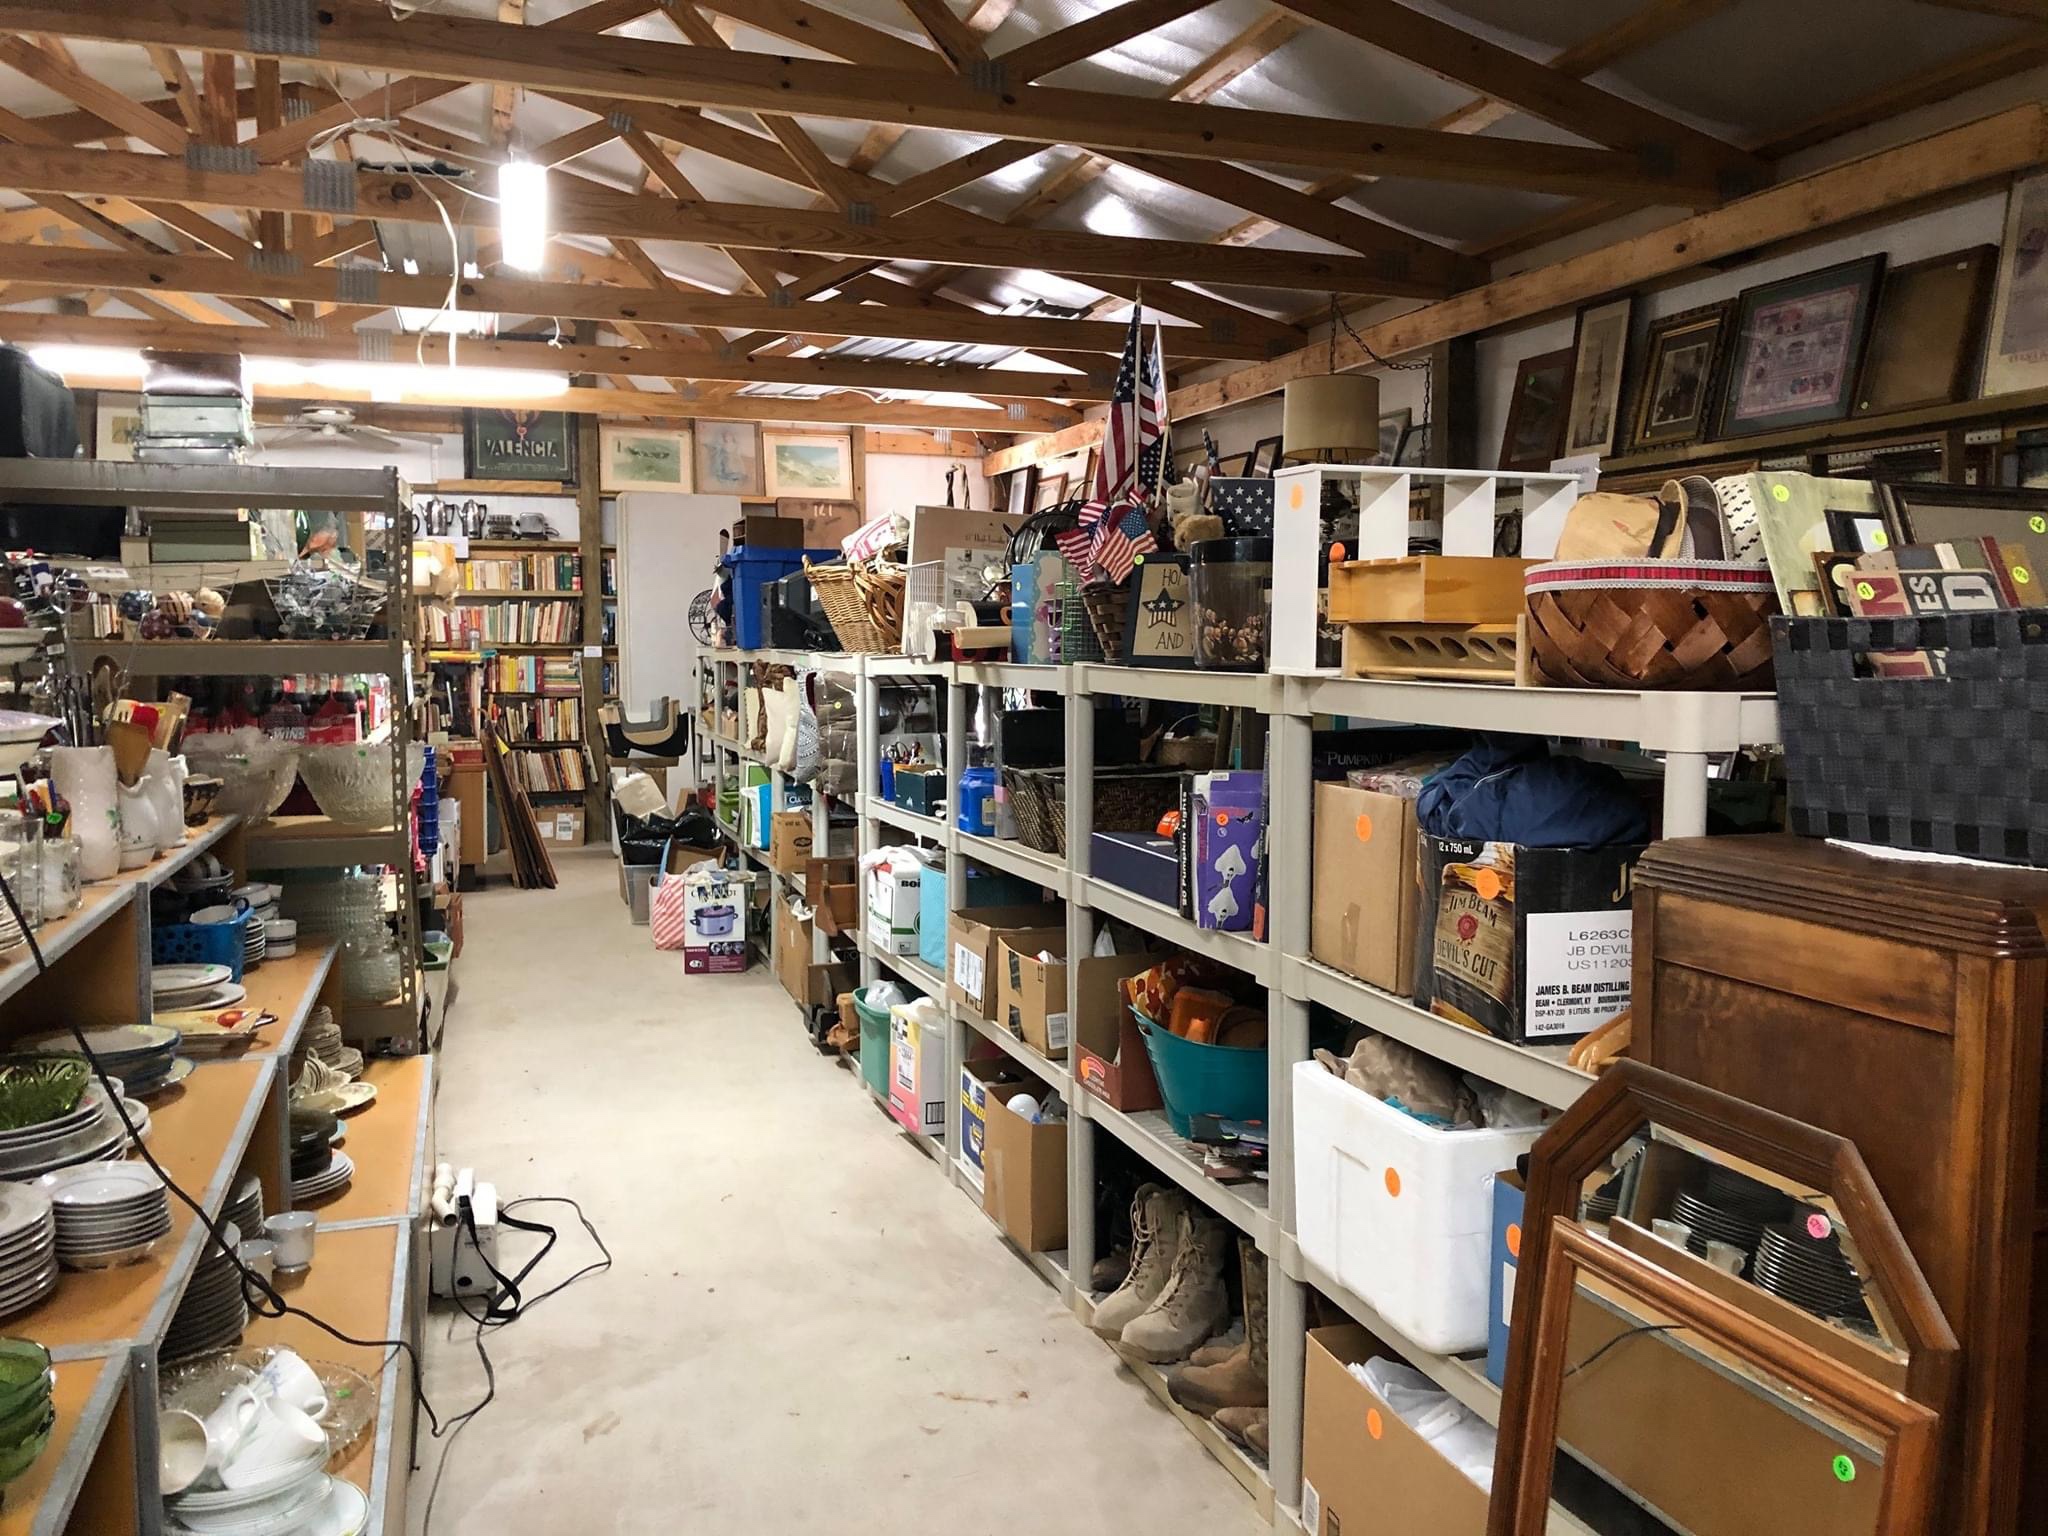
The weather is warming up. Spring is here. All signs that garage sale season has returned. We have two big barn/garage sales a year. Our favorite weekend activity is going to garage sales. We were able to hit a few garage/estate sales last weekend and picked up a few items.
First things first. Check the weather. I realize it’s difficult to forecast the weather a week or two in advance. However, you can get an idea of your chance for dry/warm weather.
Get organized. You will need to start setting up and planning your garage sale at least a week in advance. Get plenty of tables. Ask a friend to borrow some if you don’t have enough. Start sorting your items. Clothes, kitchen items, tools, games, toys, books, etc.
Pricing. You need to price as many of your items as you can. Even if you don’t get everything priced, it will give people an idea of your pricing scheme. I’m often asked, “How do you decide on a price?” People are not coming to your house to purchase items at full on retail prices. They’re looking for a bargain. My strategy is pretty simple. How badly do I want to keep the item? Am I willing to drag it back in my house and store it for another 6 months or longer.
Advertising. Write up your advertisement. Include items or phrases that will make people want to come to your sale. Include name brands that will entice people to come. Clothing is mostly NOT enticing. In fact, I do not sell clothing at all anymore. However, I do sell jewelry and accessories and you can use that. For example, Brighton, Rustic Cuff, Coach, Kate Spade, you get the picture. Use phrases/words like farmhouse, country, rustic, retro, deco, primitives, etc. Of course, only use these words if you have these items! Place your advertisement in as many places as you can. I only go for the free options any more. Craigslist, Marketplace, Facebook pages, etc. Join Facebook pages that might be helpful to your garage sale. I also create flyers and try to put them around town on bulletin boards and windows. Use photos if you have them.
Pre-sales. Sometimes you will have friends or family come by for early sales. If this happens and they buy all the good stuff, it can kind of hurt the rest of your sale. If you list premium items, and they’re all gone by the time the sale starts, your customers might not buy anything at all.
Sale day. Have plenty of cash for change. You need to decide if you’re going to take checks. I normally do, but only for amounts under $100. I also take PayPal and you can use other cash apps. Put out your signs early enough, preferably the night before. Write big enough on the sign so people can actually read it! Give good directions. Open on time. Don’t be late or everyone will leave. They’re not going to sit there and wait on you. I don’t have a problem with people opening early, but some people do. If you’re out setting up early and you say no early sales, that’s fine. But when people tell you they’ll be back, they probably won’t be. You might lose some sales. Be prepared to negotiate. Some people will throw out ridiculous offers. However, most people are reasonable and just like to get a little better deal.
Post sale. When you’re done, decide what you want to keep. You can take left overs to Good Will or another thrifting store. Please use discretion. They don’t want your trash!
Happy Monday all! I hope you have all been enjoying the fantastic weather we’ve been having recently! We decided to take full advantage of it and start our flowerbeds for the spring. If you remember we did our terrace project this fall. My husband got an itch to start tilling up those terraces this weekend on his break from work. I was also off Sunday and Monday so we decided let’s just go for it.
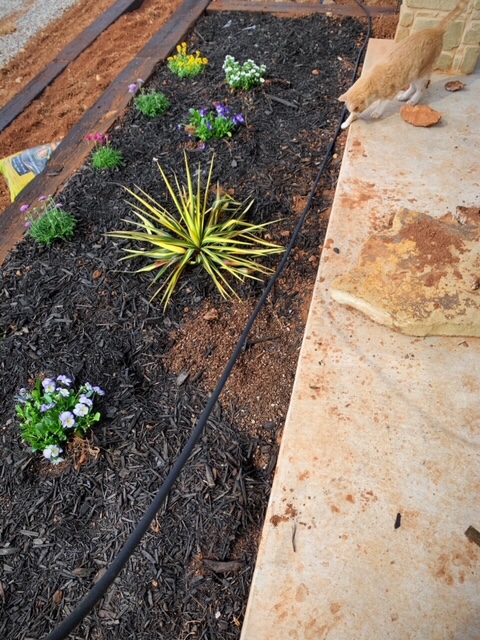
Once the dirt was tilled up we put down a layer of landscape fabric weed barrier. On top of that we put a layer of Preen mulch with weed preventer. As you can tell we don’t enjoy picking weeds! Next we headed to Lowe’s to buy our perennials. We mostly wanted to do flowers and plants that would grow back each year and just a few annuals every season.
We bought the following perennials: Color Guard Yucca, Snow Cone Candytuft, Halo Lilac Viola, Morning Star Deep Rose Sea Thrift, Butterfly Blue Pincushion Flower, Orange Glow Wallflower and we will be getting five May Night Salvia to go in front of each pillar. We are waiting for the salvia to come in and they will be fairly large and lavender in color. We also bought a couple of raspberry bushes and will later plant eight peppers on the south side of the beds. Once we had all of our plants and flowers we measured and laid out where we wanted to put each thing.
Next we hooked up and laid out the soaker hose. We weaved it in and out among the plants then covered it with mulch. We wanted to be able to just turn on the hose and let it evenly water the plants. Last thing was putting in the solar landscape flood lights. We wanted to be able to light up the house and the flowers at night while having the porch lights off.
That’s it! We have a few other things we will be doing throughout the spring and summer and will update as we go. I hope you all enjoy getting outside and planting your own plants and flowers!