Collecting, Cooking

Cast Iron Cooking

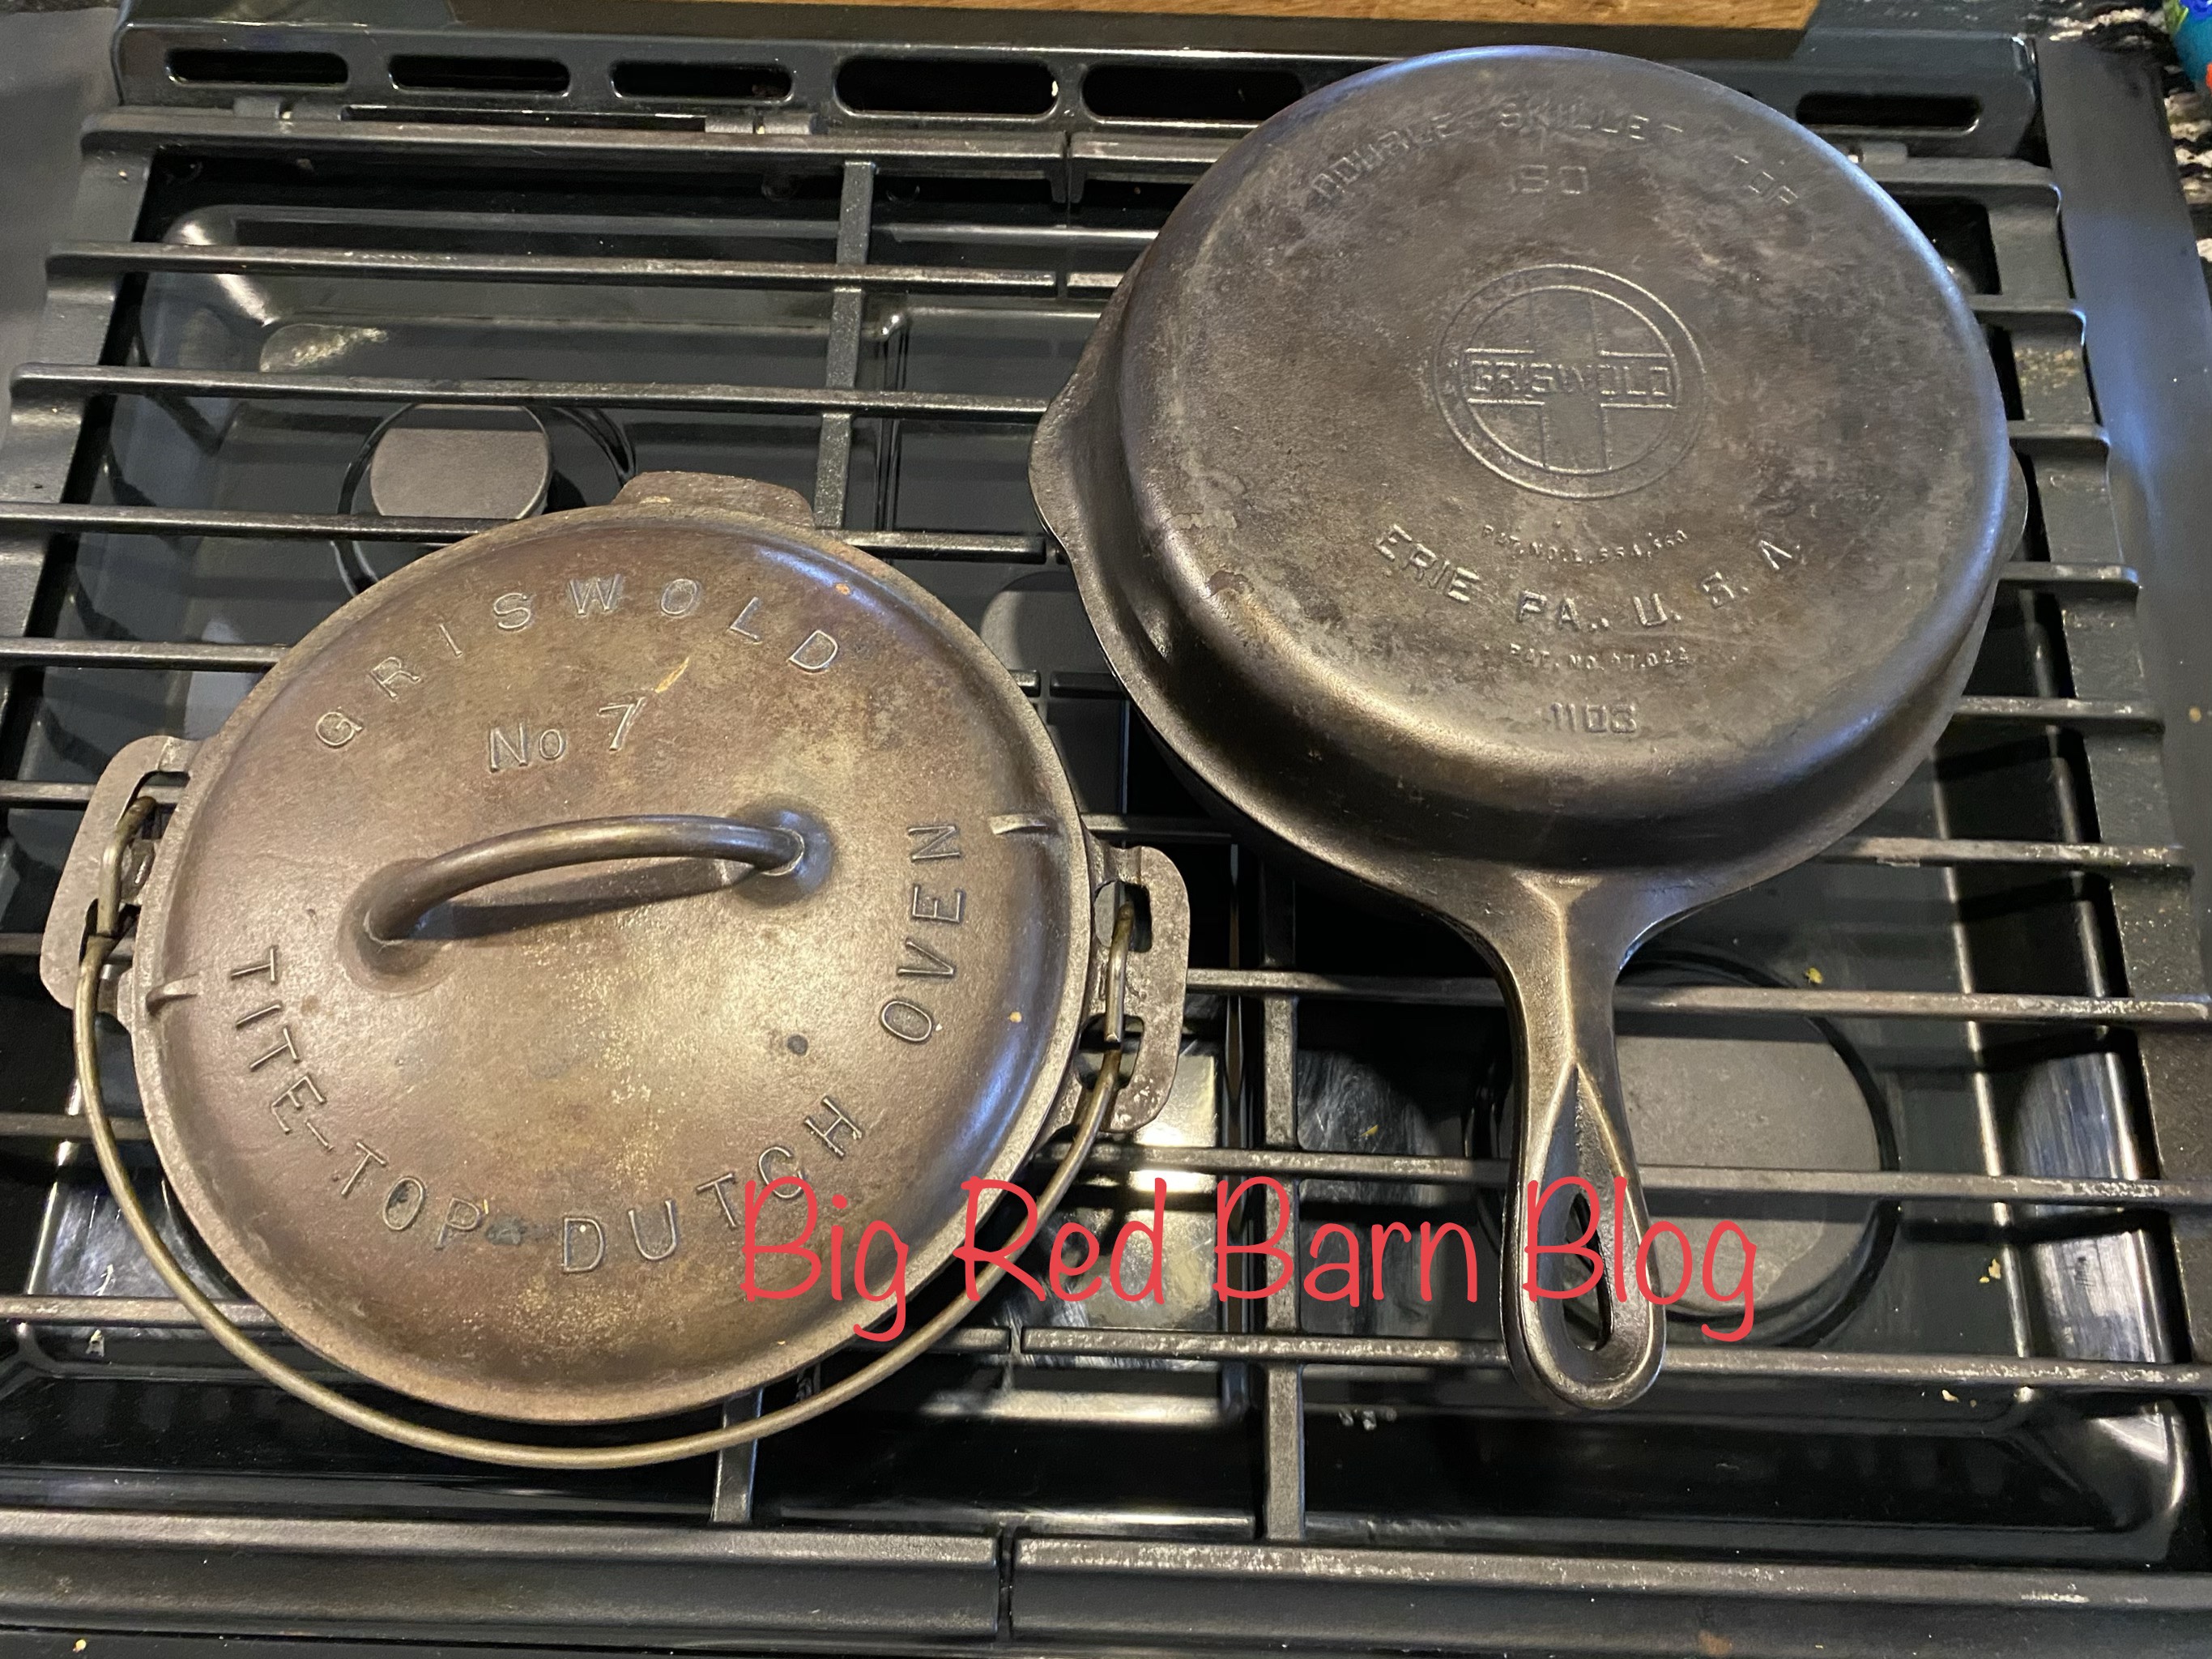
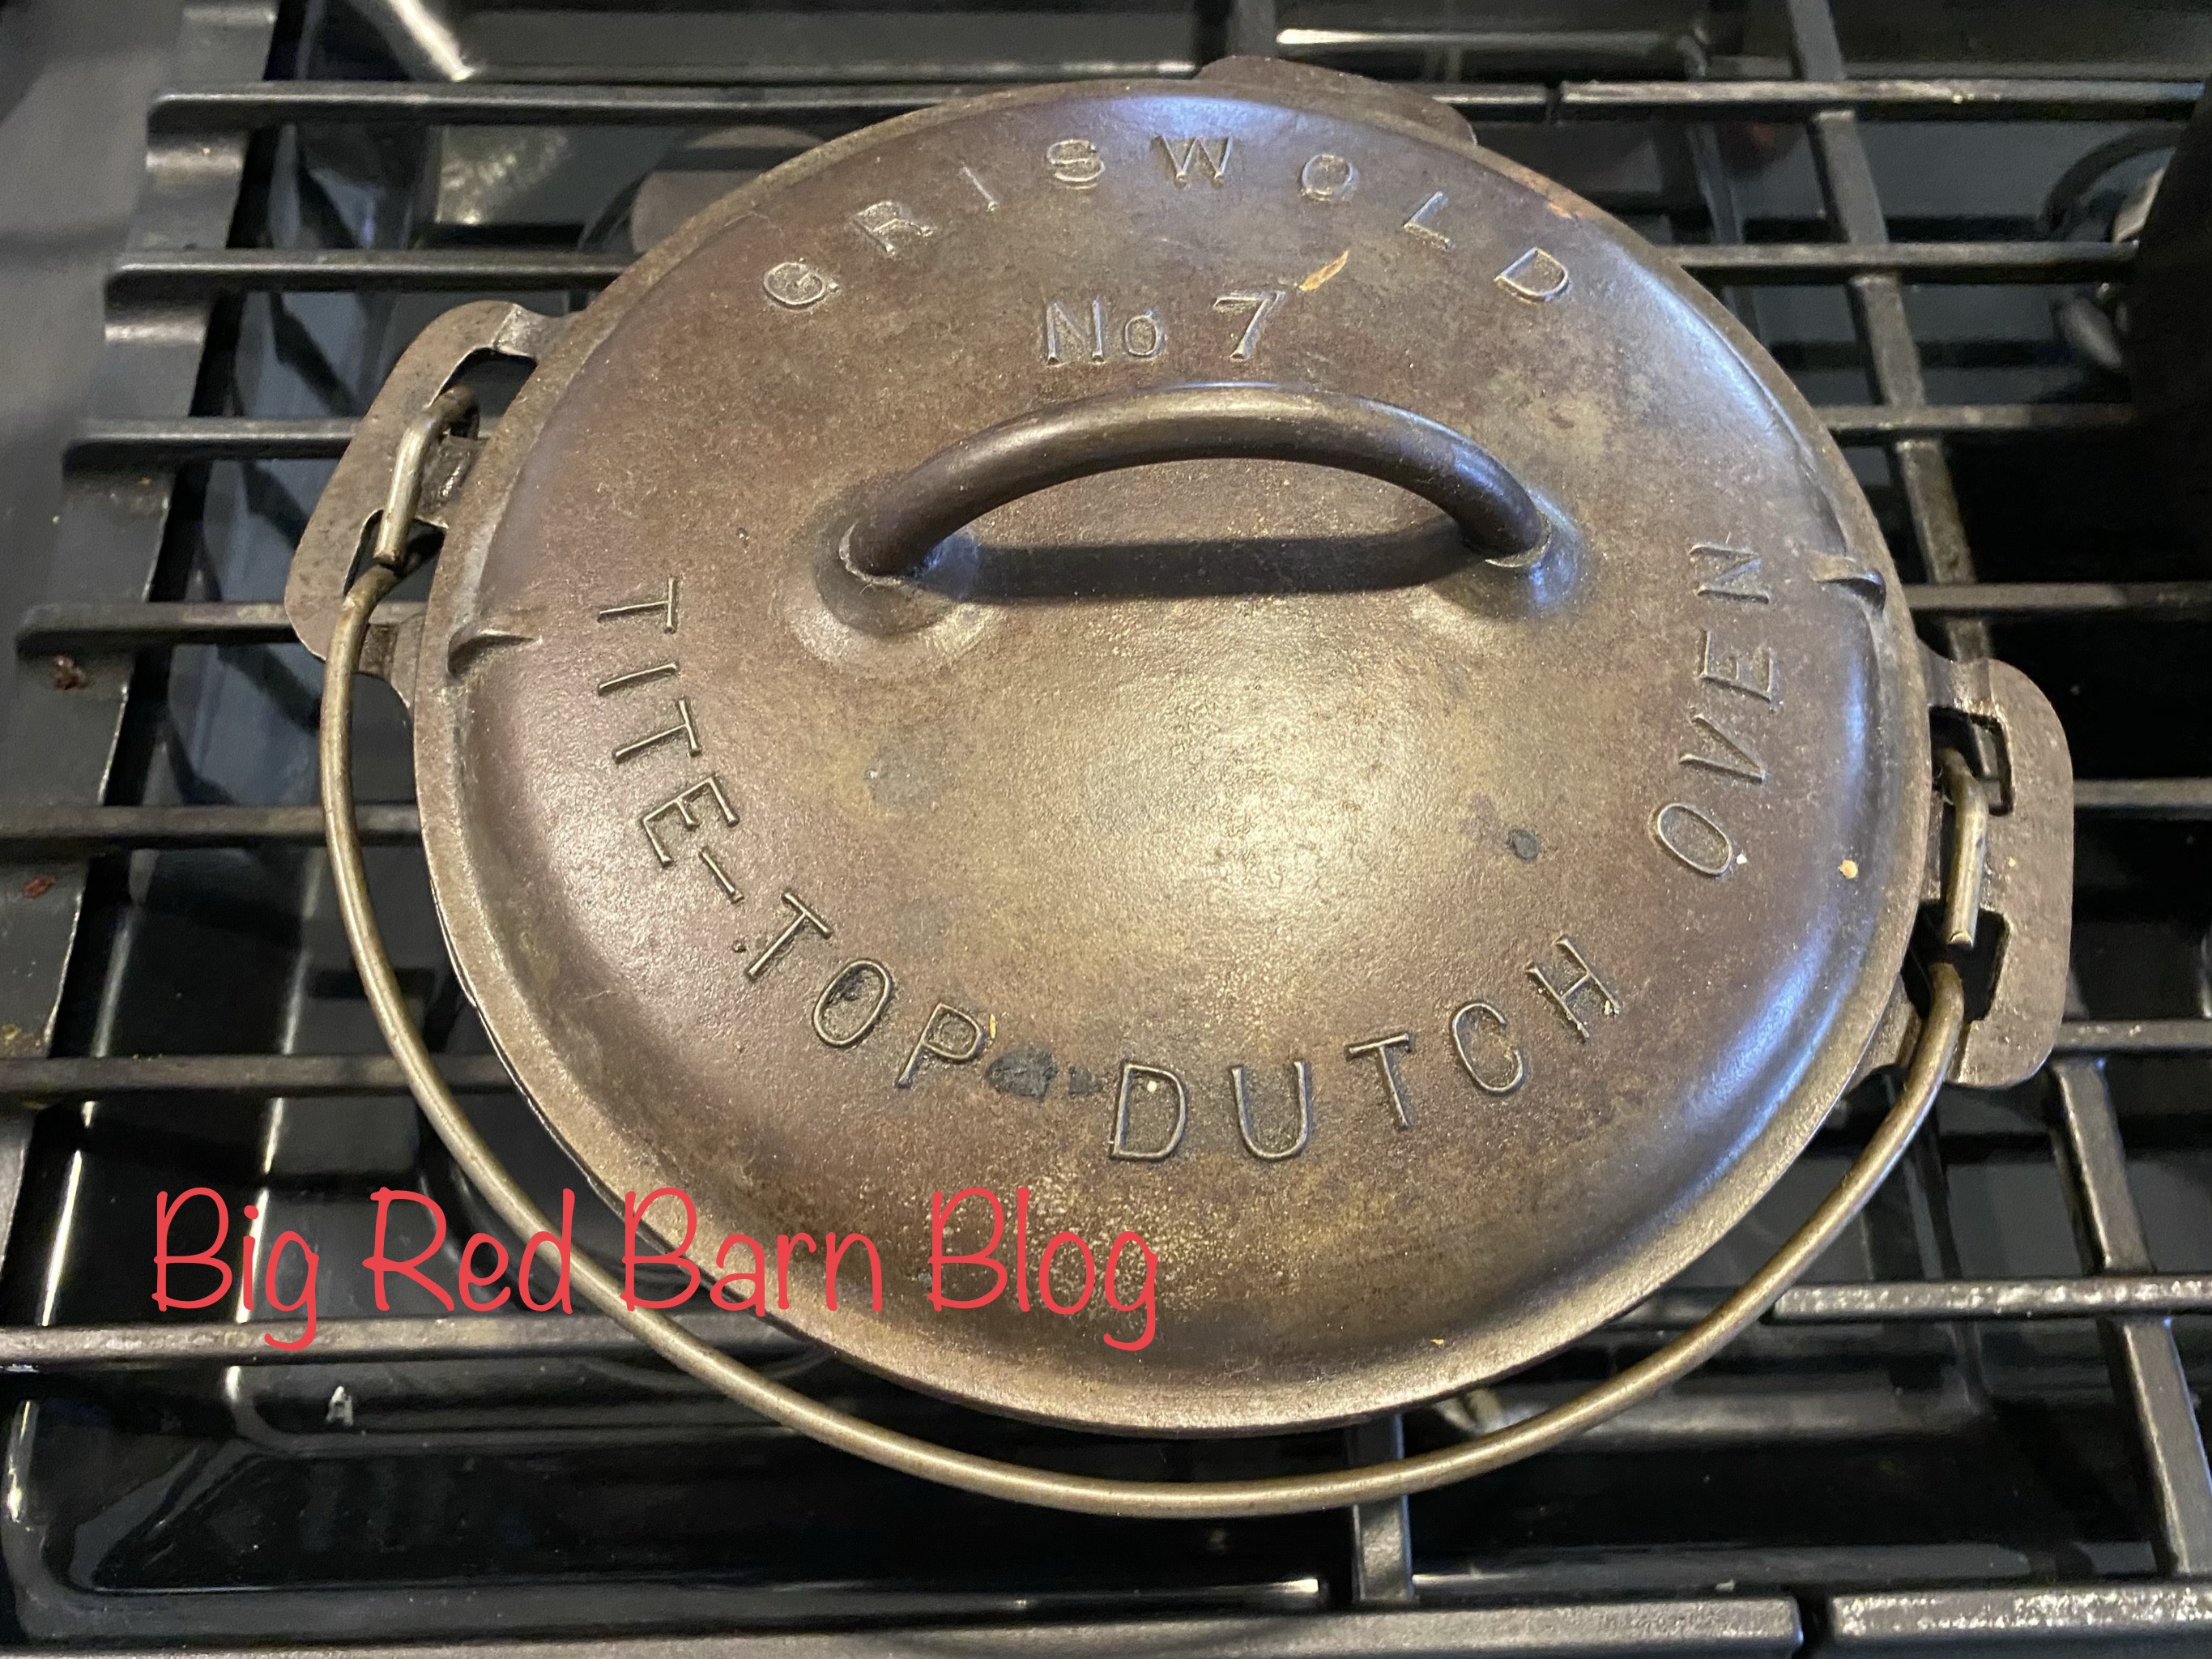
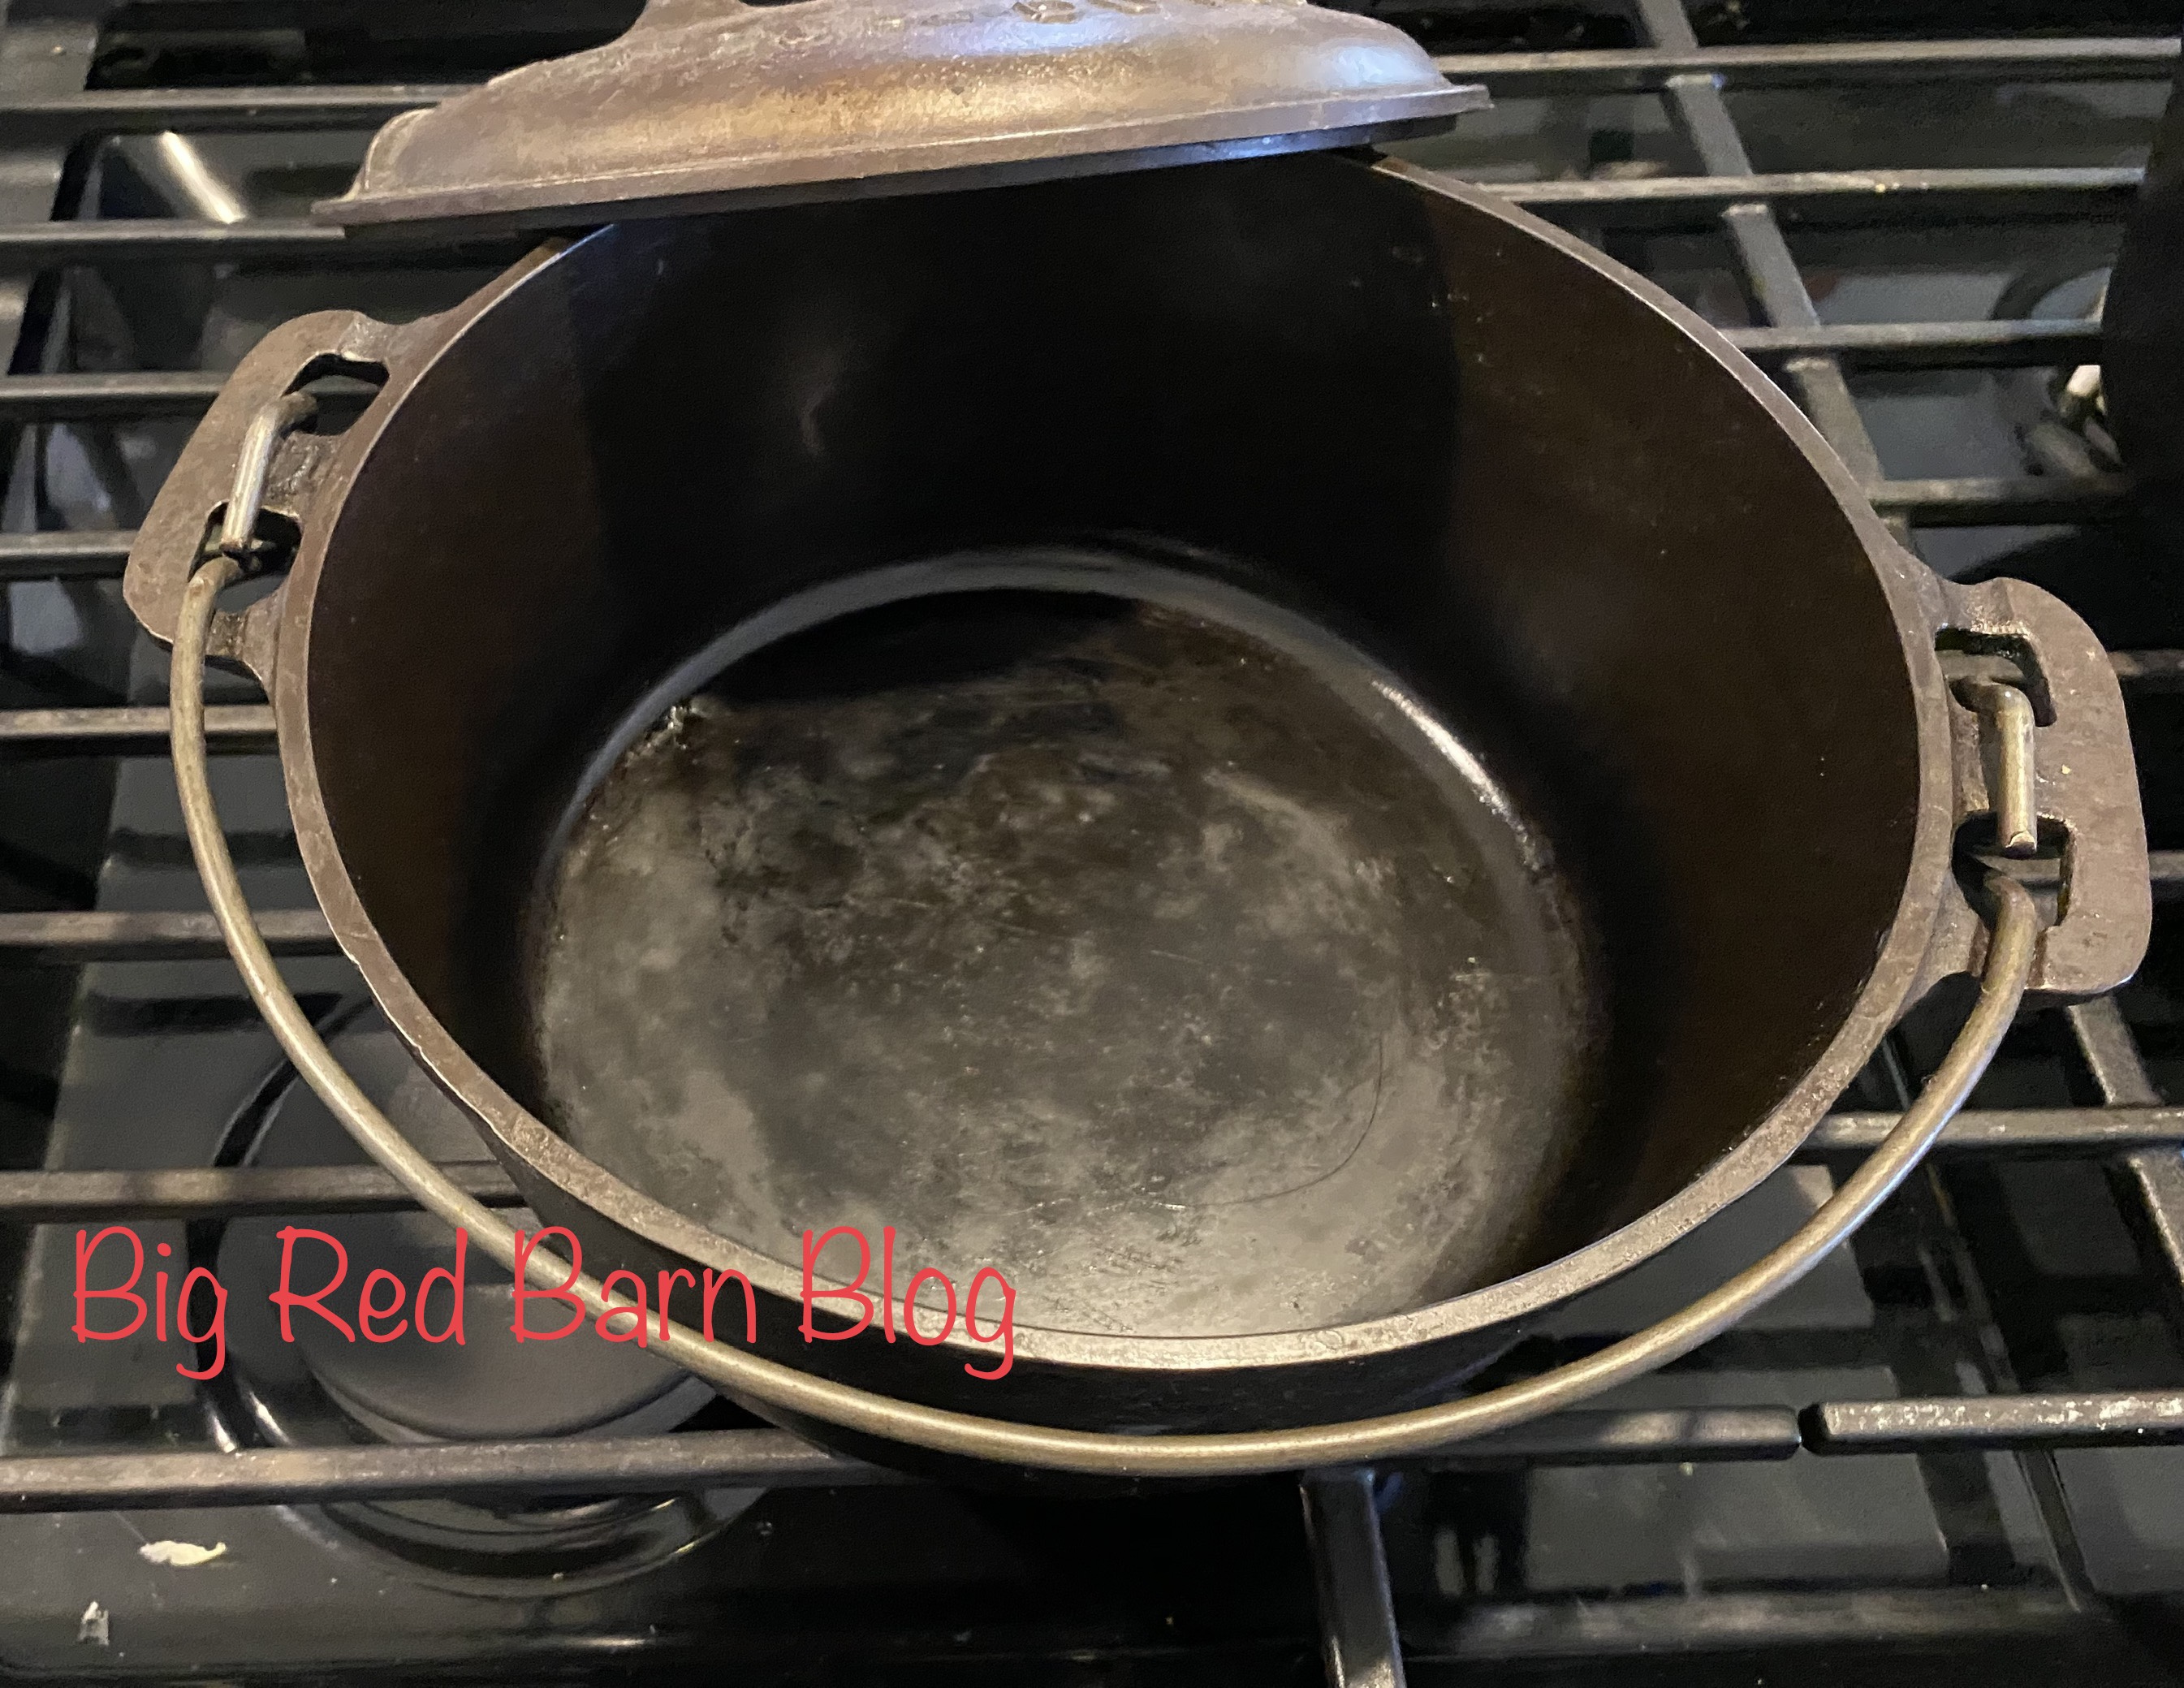
There’s nothing like cooking with a piece of vintage/antique cast iron. I use my Griswold cast iron skillet several times a week. It has a lid that you can use as an additional skillet, or as a cover if you need to finish cooking an item in the stove or on the range. I also have a small Griswold Dutch oven that I use for beans, stews, and soups. You cannot beat the taste of anything cooked in cast iron. These were probably made in the 1930s or 1940s.

My husband and I buy, sell, and keep a lot of cast iron. It is a primitive collectible that has maintained it’s value and actually continues to grow in popularity and price. I cannot keep enough in stock at my booth in the Stillwater Antique Mall.

The two biggest manufacturers of cast iron cookware during the late 19th and 20th century were either Griswold or Wagner Ware. Both made great cast iron skillets, Dutch ovens, griddles, roasters, corn pans, scotch bowls, monk pans, bread pans, sauce pans, and more!! Take some time to look up these pieces of cast iron to see how they were used. I prefer Griswold, because I think it has a slight edge in the casting process.

I am often asked how you can tell old/antique cast iron from newer pieces. Honestly, you can just tell by looking at it and feeling it. The casting in old pieces is very smooth and not pitted. Look at how smooth the inside of the skillet(s) are below. Also, the exterior of the cast iron pieces provide a lot of information. The numbers, logo, and descriptions provide a lot of great information. You can look on Google or in reference books to find more about your piece.

There were also several lesser know cast iron manufacturers who made equally impressive pieces of cast iron. Favorite, Martin Stove Company, and Crescent come to mind. In my opinion, their pieces are just as well made as the “big two” and are priced similarly.

I make fajita meat, blackened chicken, fish, steaks, pork chops, and pretty much everything in my cast iron skillet. I love that you can cook something on top of the stove, then just place it into the oven to continue the cooking process.

A cast iron skillet must be well seasoned and cleaned. My husband is an expert in cast iron cleaning/seasoning. He takes the grittiest, dirtiest, piece of cast iron and it comes out as smooth and clean as the day it was made.

See if you can find an older piece of cast iron to use and try some of your favorite recipes. I think you’ll be pleasantly surprised with the outcome!

Jackie

Uncategorized

Homemade Treats For Your Dog

I hope you all had a very merry Christmas! I was fortunate to get some time off before the holiday. I spent my free time watching Christmas movies, baking, and wrapping presents. I also got plenty of snuggle time with my two Weimaraner’s. These two require constant attention and know the best ways to get it.

Their names are Craig and Jodi and they are eleven and ten years old. We have had them since they were puppies. They have even had puppies of their own and they were the cutest things you have ever seen. Weimaraners are a very hyper breed and require an active lifestyle. They love living out in the country with plenty of room to run and play. As they have gotten older they have calmed down some but the puppy in them still comes out at times.

This week my parents dog Barnaby has come to stay with us while they are visiting my sister in Alabama. Barnaby lives out on the farm across the pond from our house. He loves to swim and go pretty much everywhere my dad goes. Since we had a house guest I thought it would be a fun opportunity to make some homemade dog treats. They were a big hit when I made them as gifts for Christmas.

What I love most about making these treats is being able to tell their owners every ingredient that is in it. All of the ingredients are recognizable. My dogs have loved them each time I make them and never have any tummy issues after eating them.

This recipe is easy to make and produces about thirty six dog bone shaped treats. Depending on the shape you choose it may make more or less.

Homemade Dog Treats:

  • 2 cups flour (I like to use whole wheat flour)
  • 1 tsp baking powder
  • 1/3 cup natural peanut butter
  • 2 Tbs honey
  • 1 cup milk

Preheat oven to 350 degrees. Combine all ingredients. Take dough and roll it out to about a 1/4 of an inch thick. Cut into desired shapes and place on an ungreased cookie sheet. Bake for 20 minutes. Remove from oven and allow to cool.

I am always looking for different treats to make for my dogs, so if you have any recipes please feel free to share in the comments!

Happy New Year,

Cristie

Cooking

Homemade Decorated Christmas Cookies

Well, it is finally here, the week of Christmas! Growing up, this was the best week of the year. You were out of school, got to snuggle up and watch all of your favorite Christmas movies, and of course decorate Christmas cookies. Now when I was younger (and I would say up until a few years ago) I was not very good at decorating, but they still tasted delicious! I’m going to share our cookie recipes and a few decorating tips for the person who isn’t great at cookie decorating!

This dough is perfect for rolling out and using cookie cutters. We like to go with cutouts we know will be less intricate and thus easier to decorate. This year we chose to do mittens, snowflakes, sweaters, trees and stockings. It’s always good to choose cutouts that can have one solid base color for ease of decorating.

Next you pop them in the oven. You want to keep an eye on them because you don’t want them to burn and you don’t want them to be under done. You are going for golden brown edges on your cookies. Once you’ve reached golden perfection it’s time to take them out and let them cool. We like to use cooling racks so air can flow around the entire cookie.

Now that the cookies have cooled it’s time to decorate. We make the icing before making the dough so it has time to firm up. To get the base color on the cookies we first make an outline around each cookie. Once you’ve outlined all of the cookies your icing will have thinned a little to be able to flood the outline with icing. Let the outline sit for about ten minutes to firm. If the icing isn’t thin enough to flood you can add a little hot water to the icing or set the bottles in the hot water for a few minutes. Flooding the icing will give a nice glazed look to your cookie.

The next step is putting some detail on your cookies. You can of course use icing but you may want to grab a few other things such as sprinkles and other candies. This year they had a fun collection of sprinkles which helped make our cookies pop!

Now for the recipes! We have used this cookie recipe for over 30 years but the icing recipe we found on Pinterest. We provide both below:

Christmas Cookie Recipe:

  • 1 Cup softened butter
  • 1 1/2 Cups confectioners sugar
  • 1 egg
  • 1 tsp vanilla
  • 1/2 tsp almond extract
  • 2 1/2 Cups all purpose flour
  • 1 tsp baking soda

Mix butter, sugar, egg, vanilla and almond extract throughly. Blend in flour and baking soda. Cover, chill 2-3 hours. Heat oven to 375 degrees. Divide dough in half. Roll each half 1/4 inch thick on lightly floured surface. Cut into desired shapes. Place on lightly greased cookie sheets. Bake 7-8 minutes or until light brown on edge.

Icing recipe:

  • 1 Cup confectioners sugar sifted
  • 2 Tbs milk
  • 1 Tbs light corn syrup
  • 1 drop lemon juice

Mix all ingredients thoroughly. If the icing is too thick continue to add milk a teaspoon at a time until you reach desired consistency. Add gel food coloring and stir. Funnel the icing into squeeze bottles for ease of decorating.

Here they are all ready for Santa to come! This has been a wonderful tradition in our family for many years and will be for years to come. We would love to hear about some of your most cherished traditions!

Happy Holidays,

Cristie

Uncategorized

Friend and Co-worker Gift Idea

Hello all, Cristie here! I hope my mom’s post on her Santa collection helped get you in the holiday spirit! I was thinking what to post about this week and I wanted to help with gift ideas for you. I am a manager at a restaurant and every year we have what we call “Holiday Happy Hour” for the amazing folks in our corporate office who make our lives so much easier. It looks very different this year due to COVID but we still wanted to do something nice for them!

Typically we host a happy hour with food, drinks and prizes. Since that is not an option I decided to make fun gift baskets that included items we would usually enjoy together.

I work at a Mexican restaurant so the first thing I wanted to put in the basket was a margarita kit. We have these cute mason jars that we serve our margaritas in, which worked perfectly because I could just fill and put the flats and rings on them. We currently have take home margaritas (just add your own tequila) so I filled the jars with that.

At this point I went to Hobby Lobby for inspiration and found these tiny clear ornaments. An alarm went off in my head and said use these for holding salt to rim the margaritas. I knew I needed a tag of sorts to tell them to just add tequila so I grabbed some blank tags. I have recently become obsessed with stamps so I wandered over to the stamp aisle and found this cute thank you stamp for the tags.

Next I needed a basket to put the goodies in and came across these farmhouse Christmas themed ones. We were going to do some cake balls at other parties we were going to have so I knew I needed to incorporate these into the basket. I found these clear treat holders that would neatly display the cake balls. I also saw these tiny cupcake liners and grabbed those too! I needed some filler for the baskets and treat holders and they have some already made for you.

On my way out of Hob Lob (before buying way too much stuff) I saw these thank you cards out of the corner of my eye. They fit perfectly with the theme and knew it was a great way for everyone to get to sign their appreciation.

Finally it was time to put them all together! I do not have the best handwriting so I asked for some help with the tags and envelopes. I used the tags to tie the salt filled ornaments to the margarita to make these adorable build your own margaritas. My boss grabbed some mini tequila bottles to complete the basket. I divided up the cake balls and put the treat boxes together.

The final touch was the thank you card with the recipients name on it. How cute did these turn out to be? I would love to hear what you all do for gift baskets or gifts for your friends and co-workers!!

-C